Biscotte Yarns
Octopus Garden Shawl | Free Knitting Pattern and yarn options
- Regular Price
- $0.00 USD
- Sale Price
- $0.00 USD
- Regular Price
- Unit Price
- Translation missing: en.general.accessibility.unit_price_separator
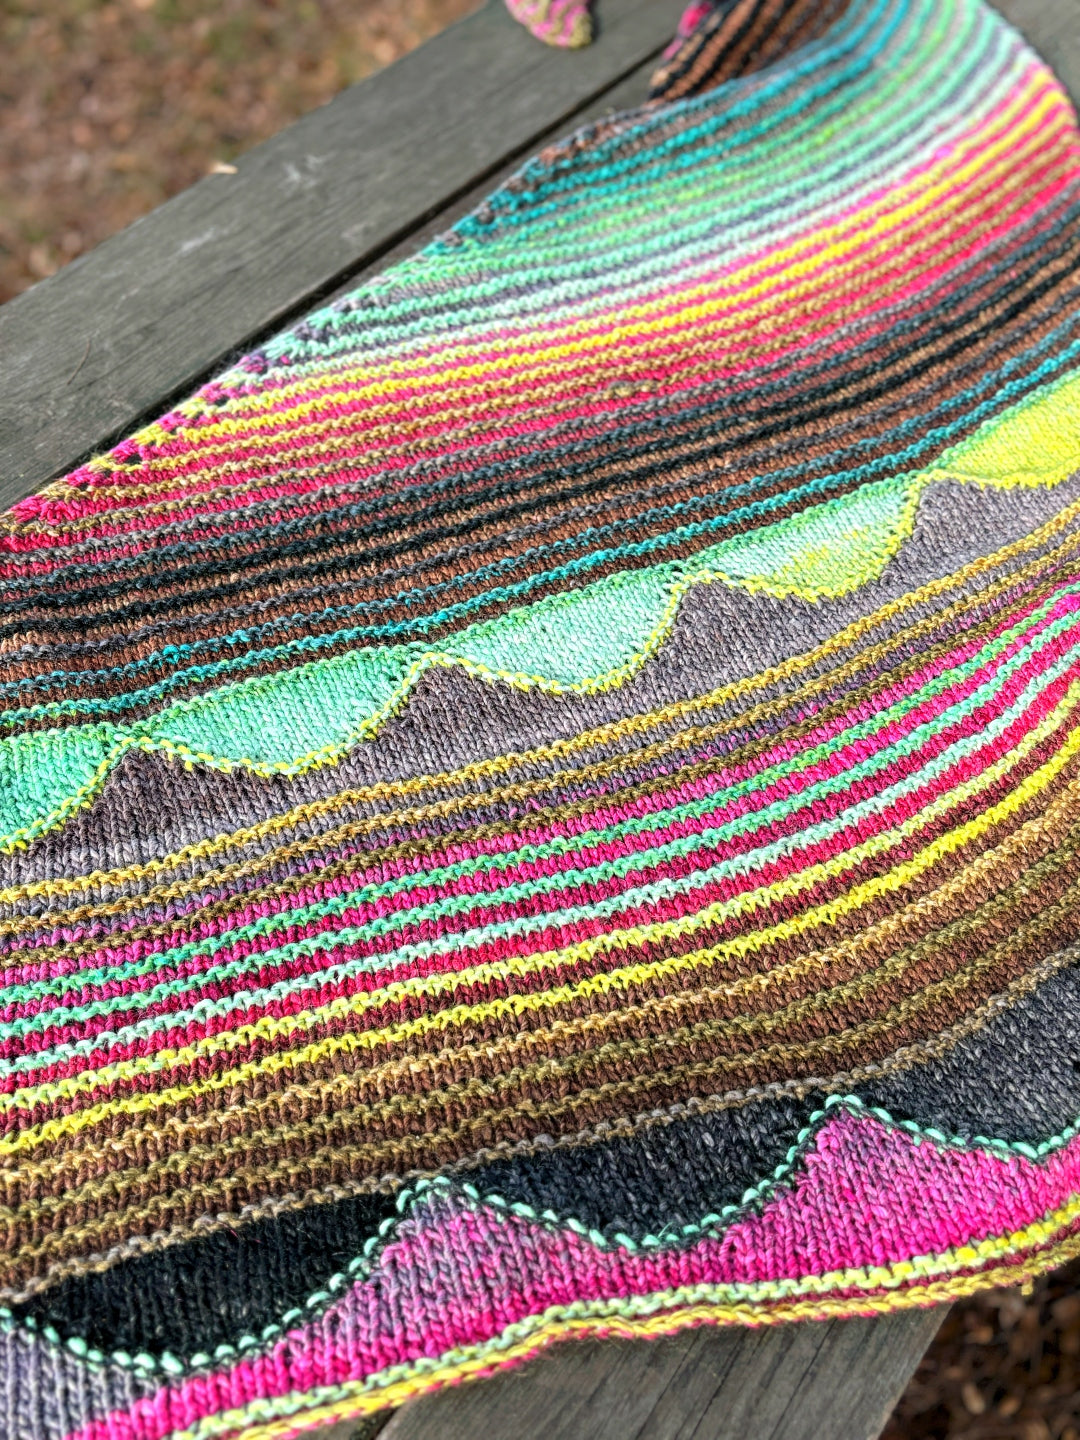
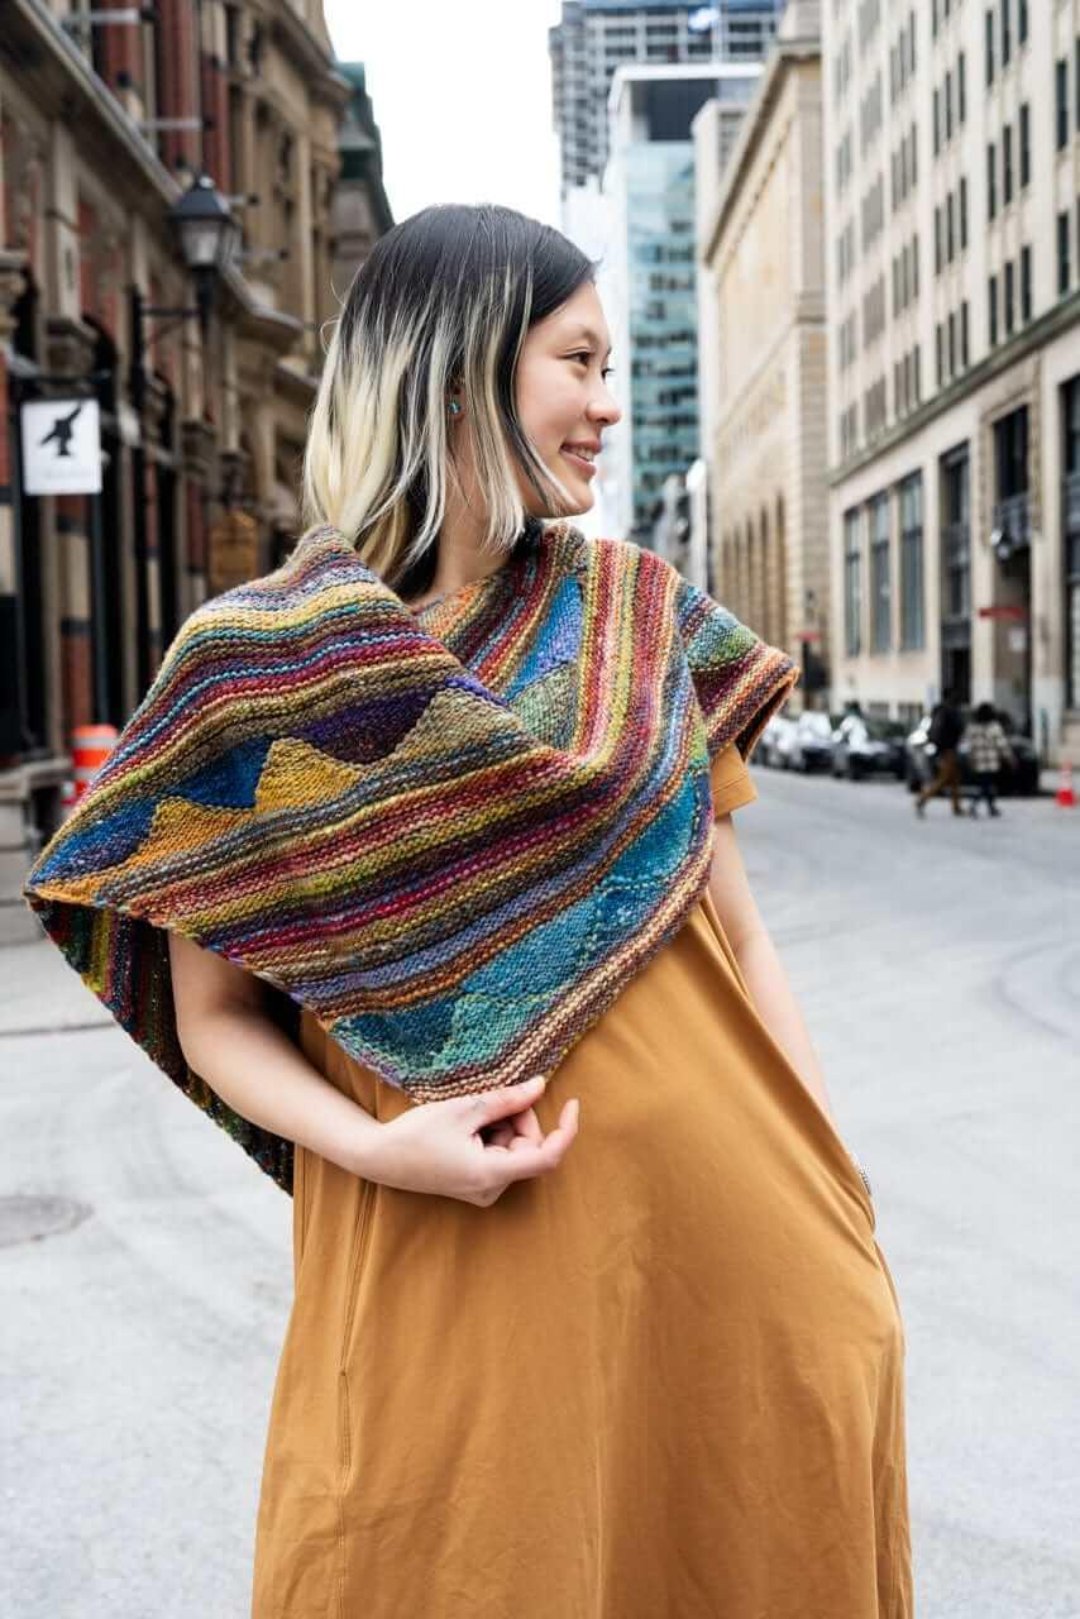
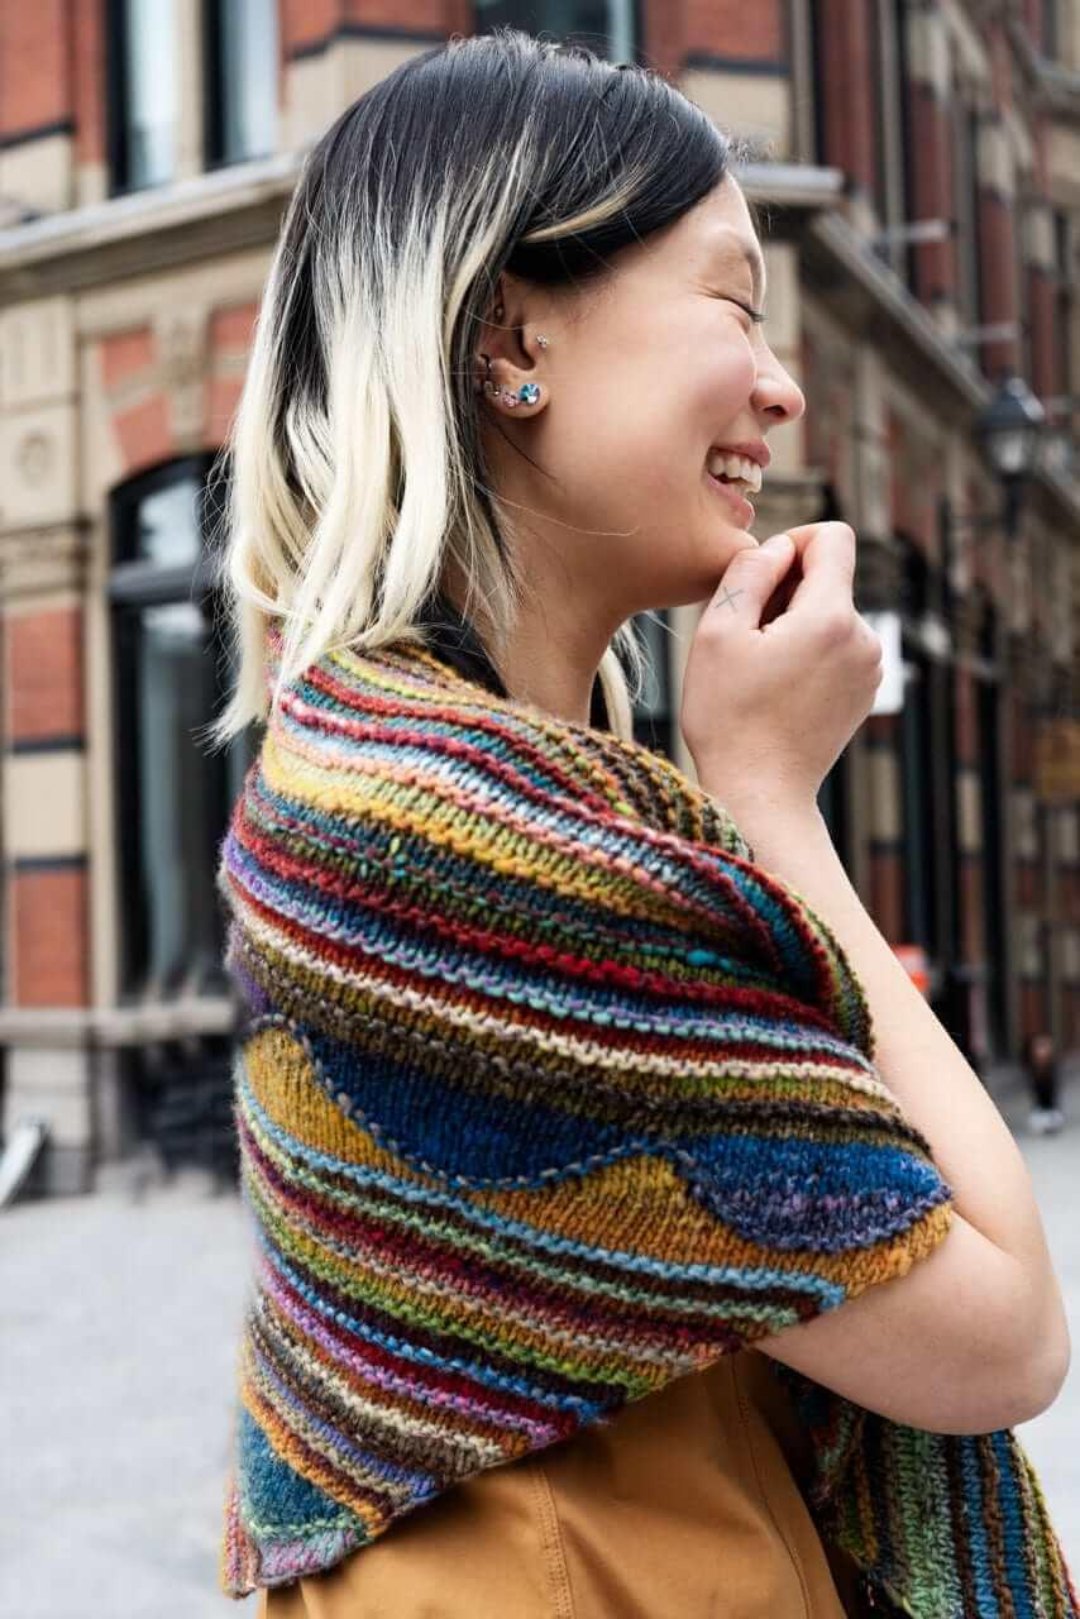
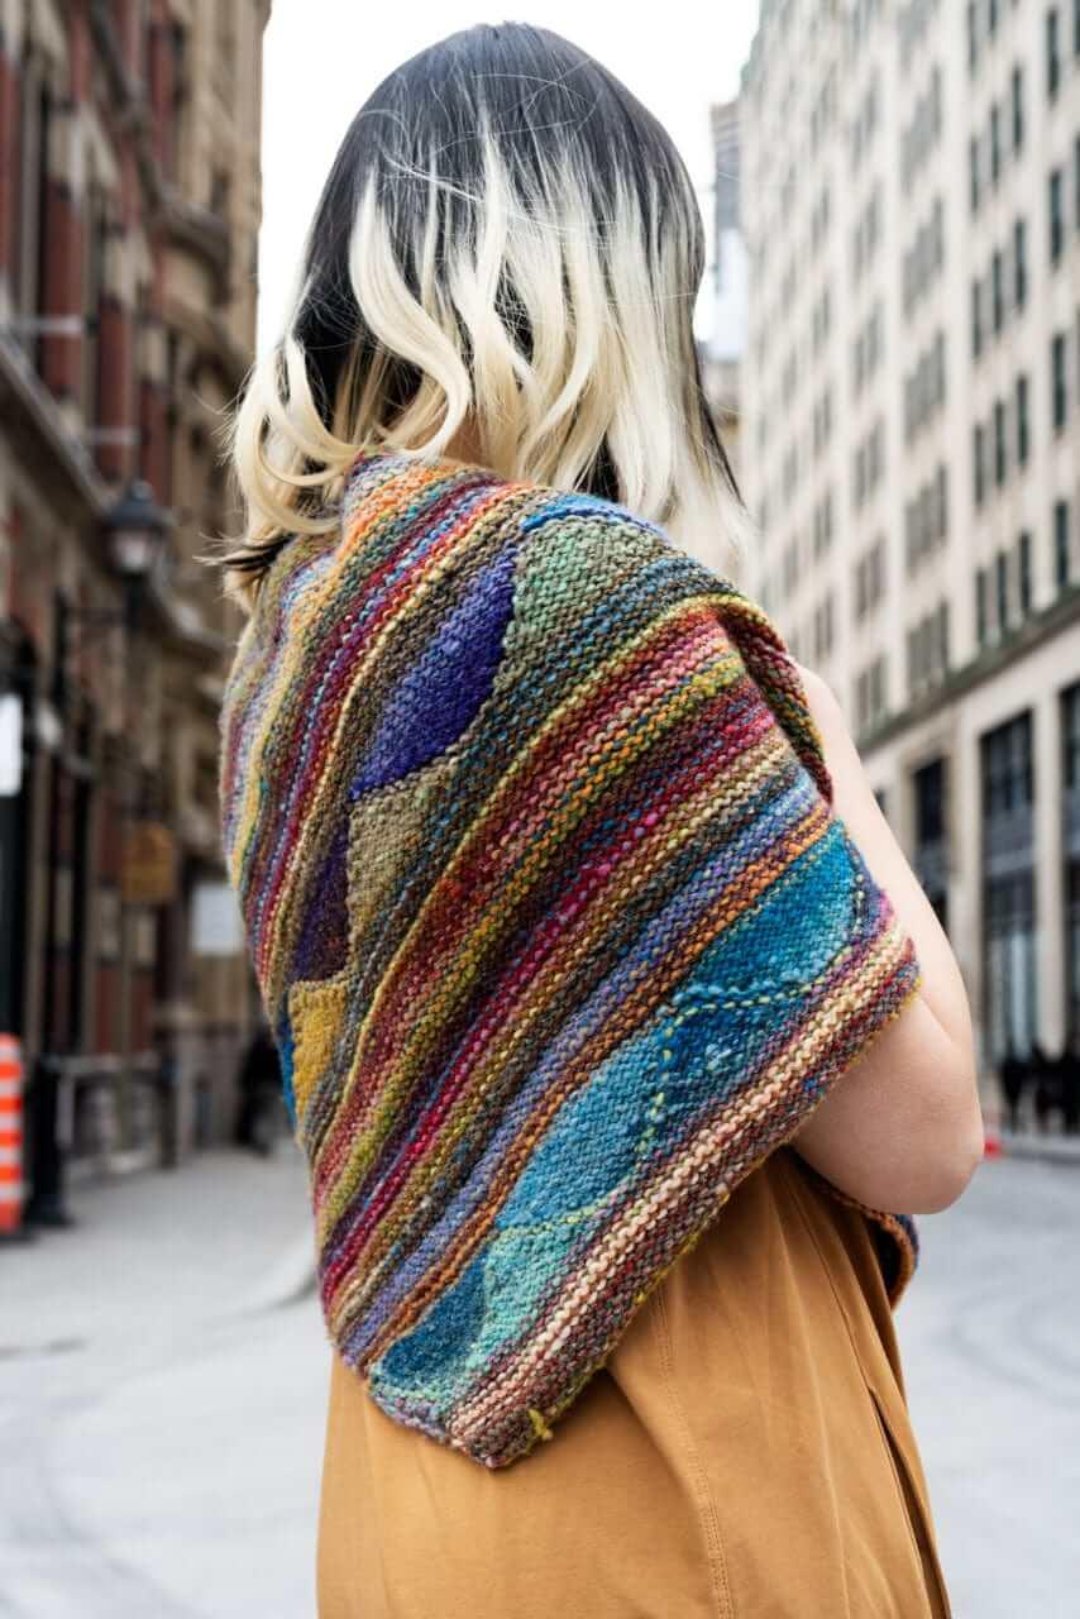
Introducing a beautifully warm Octopus Garden shawl you'll adore wearing in any season! Originally designed by Louise Robert with the Noro Ito yarn, this stunning piece has been refreshed and is now featuring the exquisite Noro Silk Garden yarn. Experience the rich colors and soft texture that make this shawl a true delight. Plus, this complimentary pattern is graciously provided by Biscotte!
'' Just like listening to a Beatles album, knitting Noro yarns always makes me happy! I thought that this shawl could be my "Octopus's Garden" and as in the song that bears that name, It will make me "warm, below the storm, in my little hideaway beneath the waves" ''- Louise Robert
IN ADDITION TO THIS KNITTING PATTERN, YOU WILL NEED THE FOLLOWING MATERIALS
-
NORO - SILK GARDEN [45% silk, 45% mohair, 10% wool blend; 100m per 50g] - 8 BALLS - Any color can be designated as either A or B; simply select your preferred color as A, and the remaining hue will automatically become B.
- COLOR A | 4 BALL - shown in # 532 - Itoman
- COLOR B | 4 BALL - shown in # 535 - Miyasaki
- Circular needles of 5.5 mm - or size needed to obtain gauge
- Stitch markers
- Tapestry needle
GAUGE
16 sts = 10 cm in stockinette stitch after blocking.
FINAL SIZE
Lenght (from one tip to the other): 162 cm (64 inches)
Height (measured in the deepest part) : 50 cm (20 inches)
NOTE
The colour change is done every 2 rows (unless otherwise specified). When changing colour, do not cut the thread, leave it on standby at the beginning of the row and take it back two rows higher.
The waved strips are made with short rows based on the "German short row" method. ATTENTION: this technique is explained at the end of the document. I also found a very nice video tutorial by Mimi Kezer on Youtube that you can find HERE.
To lighten the text, there is no mention of slipping the markers when working with the waved strips: when you come across a marker, slip it in and continue as instructed.


