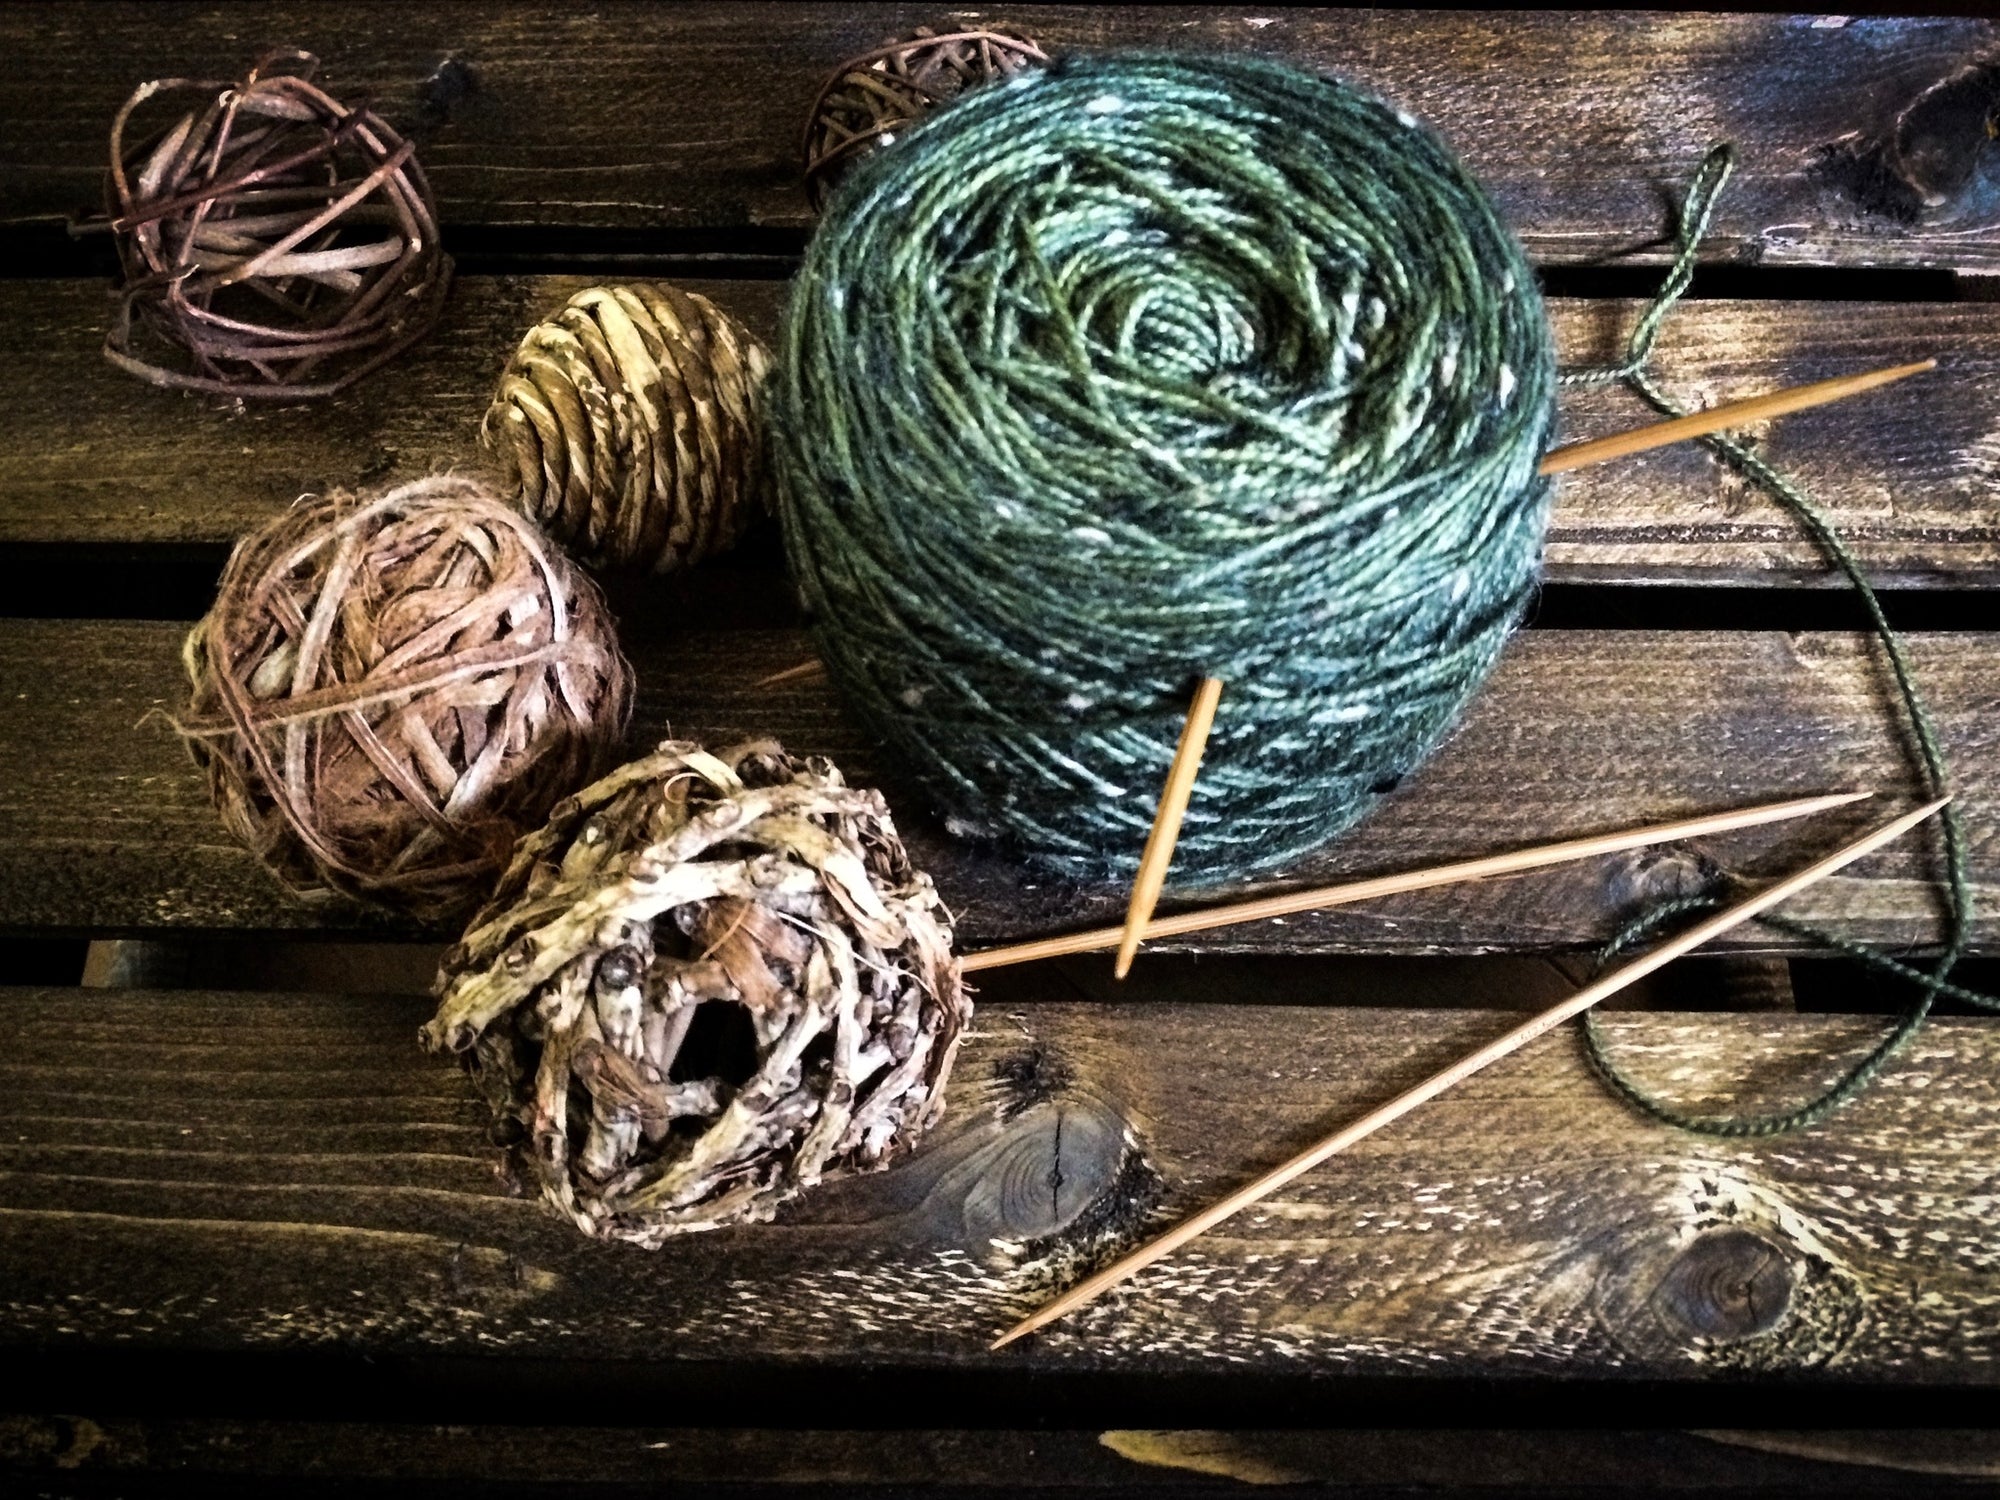
I‘m especially excited about these socks! It’s the kind of project that gives you butterflies! Biscotte has come out with a new sock line called Sirius and it’S TWEED!!
Sirius-ly I said TWEED!! The name could not be more fitting because I had to say it that way LOL
I‘m not kidding when I say I’m obsessed with tweed. I could wear it from head to toe and strut down the street. Don’t worry if I do, I’ll make sure to get plenty of pictures LOL
I had to take out my Chiaogoo Bamboo DPNs for this one. The bamboo looks so good with this beautiful rustic tweed sock yarn! The color is called Kalamata in case you need to rush out and get it immediately!
I’ve decided to do a toe up sock, so that I can introduce the most awesome heel....the Fleegle Heel! It’s a short row heel that eliminates holes and is very nice and sturdy.
I'm using Judy's Magic Cast On for Toe Up Socks. Theres's different methods out there; this is my favorite one. I find that not only is it invisible, but also sturdy.
Once the toe portion is complete, start knitting the foot section to the front of your ankle. And the best thing about the toe up sock, you can get a really good fit by trying it on as you go! Once you've reached the area right before your ankle, we get into the fun stuff!
Just to keep things simple, I drew a line right where my ankle begins and straight over to the other side of my foot. Try on your sock and pull it as tightly as you would like it to feel when you’re actually wearing it. When it reaches that line you drew, this is when you start increasing for the gusset. Be sure not to knit too long of a foot section, as the Fleegle Heel starts more towards the centre of your foot vs a normal short row heel.

You’re going to start with 32 stitches on needle one and divide the other 32 stitches on needle 2 and 3. You will only be increasing on needle one; needle 2 and 3 will be straight knitting. In total I started off with 32 stitches, you will increase needle 3 until there are 62 stitches (2 less than your total amount)
Here’s the 62 stitches for the heel......

And here’s needle 2 and 3 where no increases have been made. Try not to get too distracted by the adorable little green sheep that have been helping me out with my project! They are the Double Pointed needle protectors from Clover and they are so useful. I’m like a squirrel when it’s comes to knitting notions and accessories;)

Turning the heel is especially easy. After placing a marking right in the middle of your stitches, you're basically going to work back and forth until you have 2 unworked stitches on both ends of your needle. The trick to having no holes is to knit to the unworked stitches, knit 2 together to join the gap as you have been doing all along, knit 1 but do not turn. Knit across needles 2 and 3 until you come to the last 2 unworked stitches.
Slip the first stitch as if to knit, knit 2 together and then pass the slipped stitch over the knit 2 together stitch. And there you have it! No holes and a beautiful neat looking, sturdy heel. I'm really liking the Fleegle Heel!!

This tweed sock yarn deserves nothing less than a beautiful leaf design inspired by one of my favourite designers, Alana Dakos. I’ve slightly modified it from her Perennial hat pattern to fit a sock. It’s easy enough where you can still binge your favourite show.....ok maybe I watch too much TV LOL but just detailed enough to keep you on your toes.
It’s knit over 13 stitches, so you can pretty much put in anywhere your like!

I’ve knit mine on the sides, but it would also look pretty great on the back. And I know, I know!! I’ve said it before .... but I think this could be my new favourite pair of socks! At least until the next pair;)
There’s nothing like relaxing with a cup of green tea, my handy Biscotte Notebook, some much needed Knitting Lady Balm and a really great ball of tweed yarn! Next time you knit a pair of socks will you try a Fleegle Heel?
Download Fleegle Heel FREE SOCK PATTERN HERE and discover more Fleegle Heel Socks designs right HERE!


