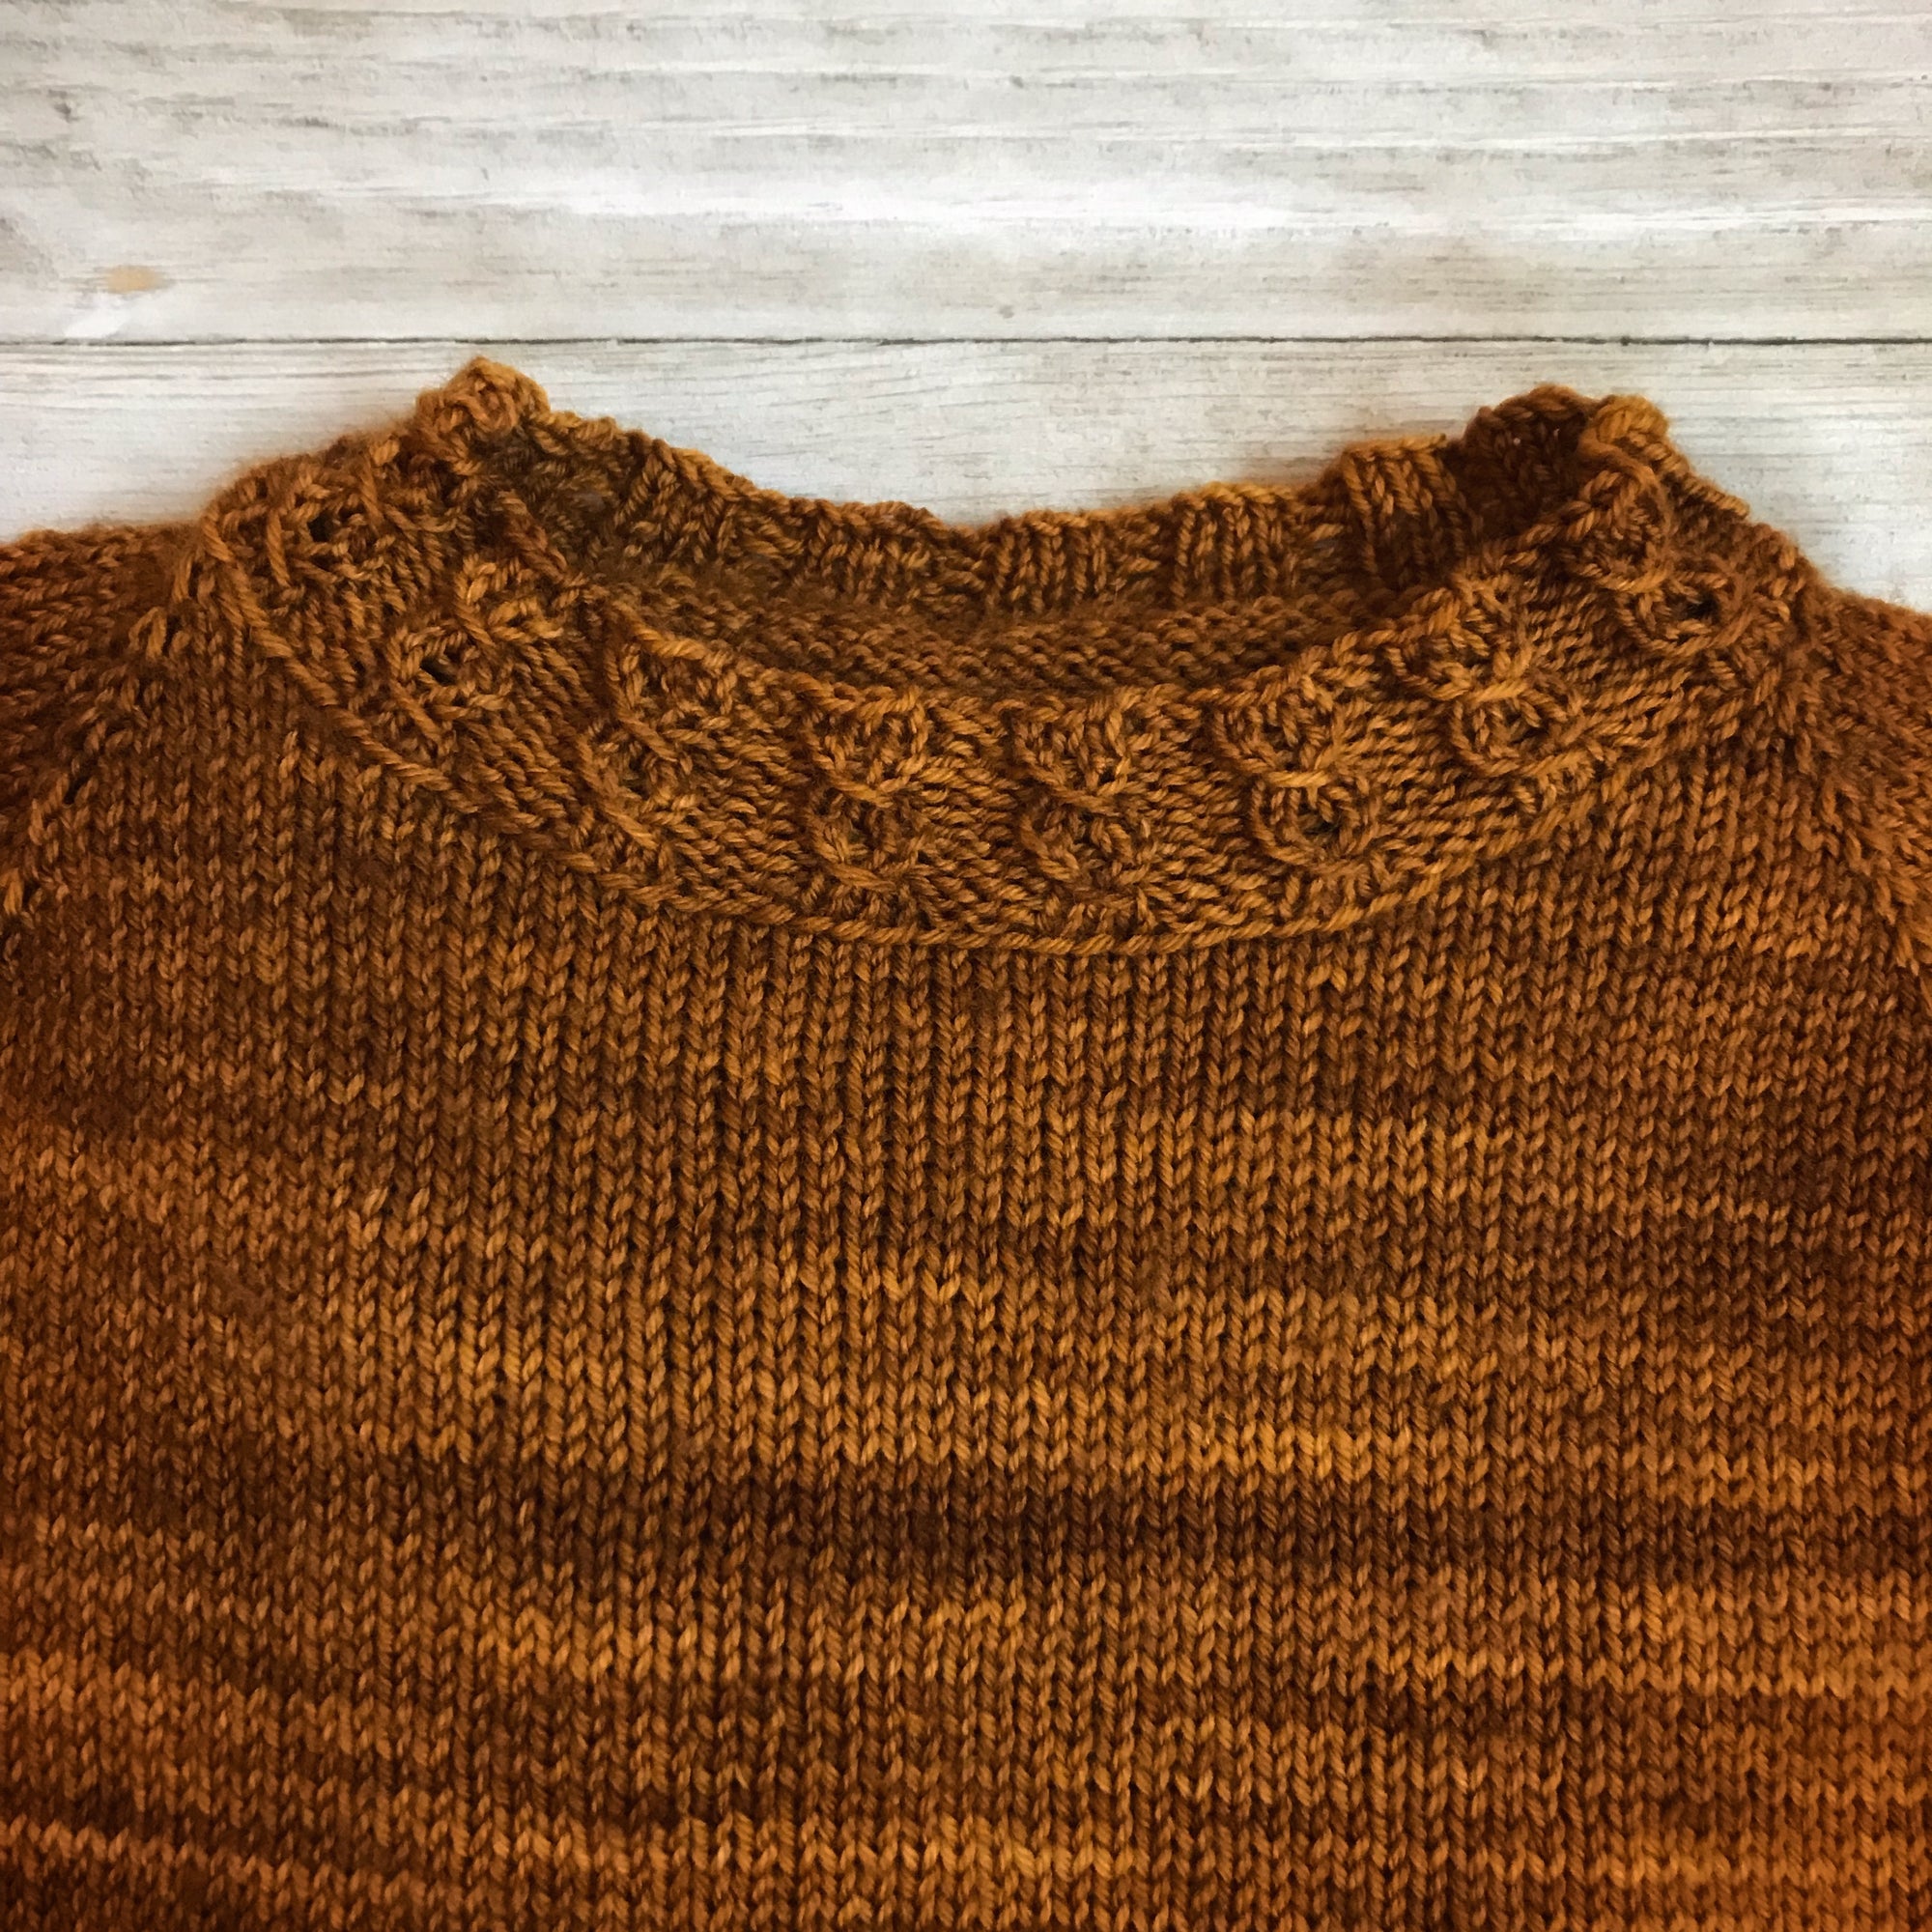
Have you ever picked up stitches around a neckline wishing that it could look better? Well this is where I found myself when designing my raglan sleeve sweater. I normally knit the collar and then continue from there to the short rows. For this raglan I've designed, it is knit back and forth casting on stitches at both ends of the needle before joining to knit in the round placing a marker to indicate the center front.
This has pros and cons as does starting with the collar first. The main reason I like this technique is that by knitting back and forth first, the width is created in the back of the neck making it higher than the front which is done instead of short rows. Now, I have nothing against short rows, I've found my favorite way to do them making them as invisible as they can be. However, no matter the technique there is still a slight interruption in stitches. (I really need to find a way to let go of this OCD I have with my knitting!!) Without the short rows, the neckline shaping is absolutely perfect and beautiful!
There is one downside. However I've come up with a solution!! The downside is that you are left with a fairly wonky looking neckline that will need stitches picked up in to knit the collar. It can be done if you are very careful and there are tons and tons of patterns that are knit this way. If you look at the neckline closely you can see there are some gaps and "steps" where stitches have been cast on. Sometimes even being very careful you can be left with some very slight holes. I must have knit the collar for this raglan 5 or 6 times before I was left happy!
Here's the wonky neckline that we are starting with:
It's rolling a little making it difficult to see the little gaps from the cast on stitches. The main area of concern is the left and right sloped edges on the front. The crocheter in me has come out to help me solve my problem! I don't crochet very often anymore; mainly to crochet a chain for provisional cast on. You don't need to know how to crochet to do this little trick but you will need a crochet hook. Let's get started!!

The stitches that we are working with are the ''V's" that are just below the selvedge edge. You can see my tapestry needle is inserted into the "V" right below the selvedge edge just for reference.

Starting at the top left picture: Insert your crochet hook into the stitch and wrap the yarn over top of the hook.
Top right picture: Pull the strand through the stitch and you now have 2 loops on your hook.
Bottom left picture: Pull the first loop through the second loop, making a slip stitch. DO NOT yarn over first as that would be a single crochet and create too much bulk.
Bottom right picture: There is now only 1 loop on your hook. You are ready to insert your hook into the next stitch and repeat the instructions until you are back to the beginning of the round.

Here is what the chain will look like. You can already see how this technique is going to make for a beautiful and tidy neckline as this is what the result is in the sloped edge of the neckline which is the worst part!

When you have finished the chain and have that one loop on your crochet hook, there's no need to bind off, just replace the crochet hook with your needle. You will now insert your needle into the MIDDLE of the crochet chain; the horizontal "V" as shown in the top picture and pick up a stitch as you normally would. As you can see in the bottom half picture, it's creating a beautiful neckline that has no holes or gaps but instead creates a decorative edge!
This sweater hasn't been blocked yet but you can see already how great it looks! I love this technique and plan to use it again for future patterns!
Do you think you would try this technique the next time your patterns calls for you to pick up stitches for the collar?
**The pattern for this beautiful pull is The Little Cables Raglan


