I'm in cardigan mode at the moment! They are so versatile and great for this time of year when you don't want to wear a coat but still need a layer of warmth. They are also great to have on hand to throw on when you are cold and then hot and...then...cold. They are my new "blanket with sleeves and buttons" best friend!
For the longest time I knit my cardigans with plain front bands, without buttons and buttonholes. AND I LOVE BUTTONS!! They are like earrings for cardigans! One reason I left out buttons was that I always found myself unhappy with the buttonholes. They were uneven, some larger than others and most times my buttons didn't fit the buttonholes. I have conquered this problem and wrote about it in my blog "How to Make the Perfect Buttonholes".
Getting back into adding buttons to my cardigans, I remembered another reason I used to leave out buttons. The buttons were always floppy and seemed to need support. The only thing I could think of at the time was Interfacing. I don't own a sewing machine and unfortunately I don't know how to sew a straight line.
So to give my buttons extra support this is what I did!

First of all I have to recommend these John James Pebble tapestry needles. There are 3 different sizes in the cute little container and the smallest one has fit in all the holes of the buttons I've chosen so far. I like to use yarn in the same color as my cardigan for my buttons. A regular little sewing needle is too tiny and most tapestry needles, being meant for yarn, is too big to fit through the eye of button. So these tapestry needles are my new favorites!
You will also need the buttons that you are putting on your sweater plus an extra set of buttons.
Top left photo: Make sure to line up your button with the button hole.
Top right photo: Get one of your "extra" buttons,thread your tapestry needle with your yarn and pull it up through one eye and down through another. Tie a knot on the back of the button, leaving a bit of a tail.
Bottom left photo: Then place the button right side up with the knot facing your sweater and...
Bottom right photo: ...come up through the eye of your main button.

Top photo: Go through the holes of both buttons until it's secure.
Bottom left photo: When you are finished, go one more time into the eye of the "back button" but do not go through the front. Bring the yarn through to the back of the "back button".
Bottom right photo: Now, with the tail that you had at the beginning from tying the knot at the back of the "back button" can be tied tightly with the tail from finishing the button. Cut the yarn close enough that you can't see it peeking out under the button but not too close that the knot will come undone.

Top photo: The button is so snug!! I wish I would have taken a picture of the buttons before doing this to show the difference, however I didn't know what I was going to do until I did it! Then I felt I had to share it!!
Bottom left photo: Look how great this looks! I remembered another thing about buttons that I used to be unhappy about. I didn't like the look of the thread/yarn on the inside of the button band. I found it looked untidy. Perhaps I'm a bad hand at sewing on buttons LOL THIS technique though not only serves as great support for your button, but it looks just as tidy inside as outside!
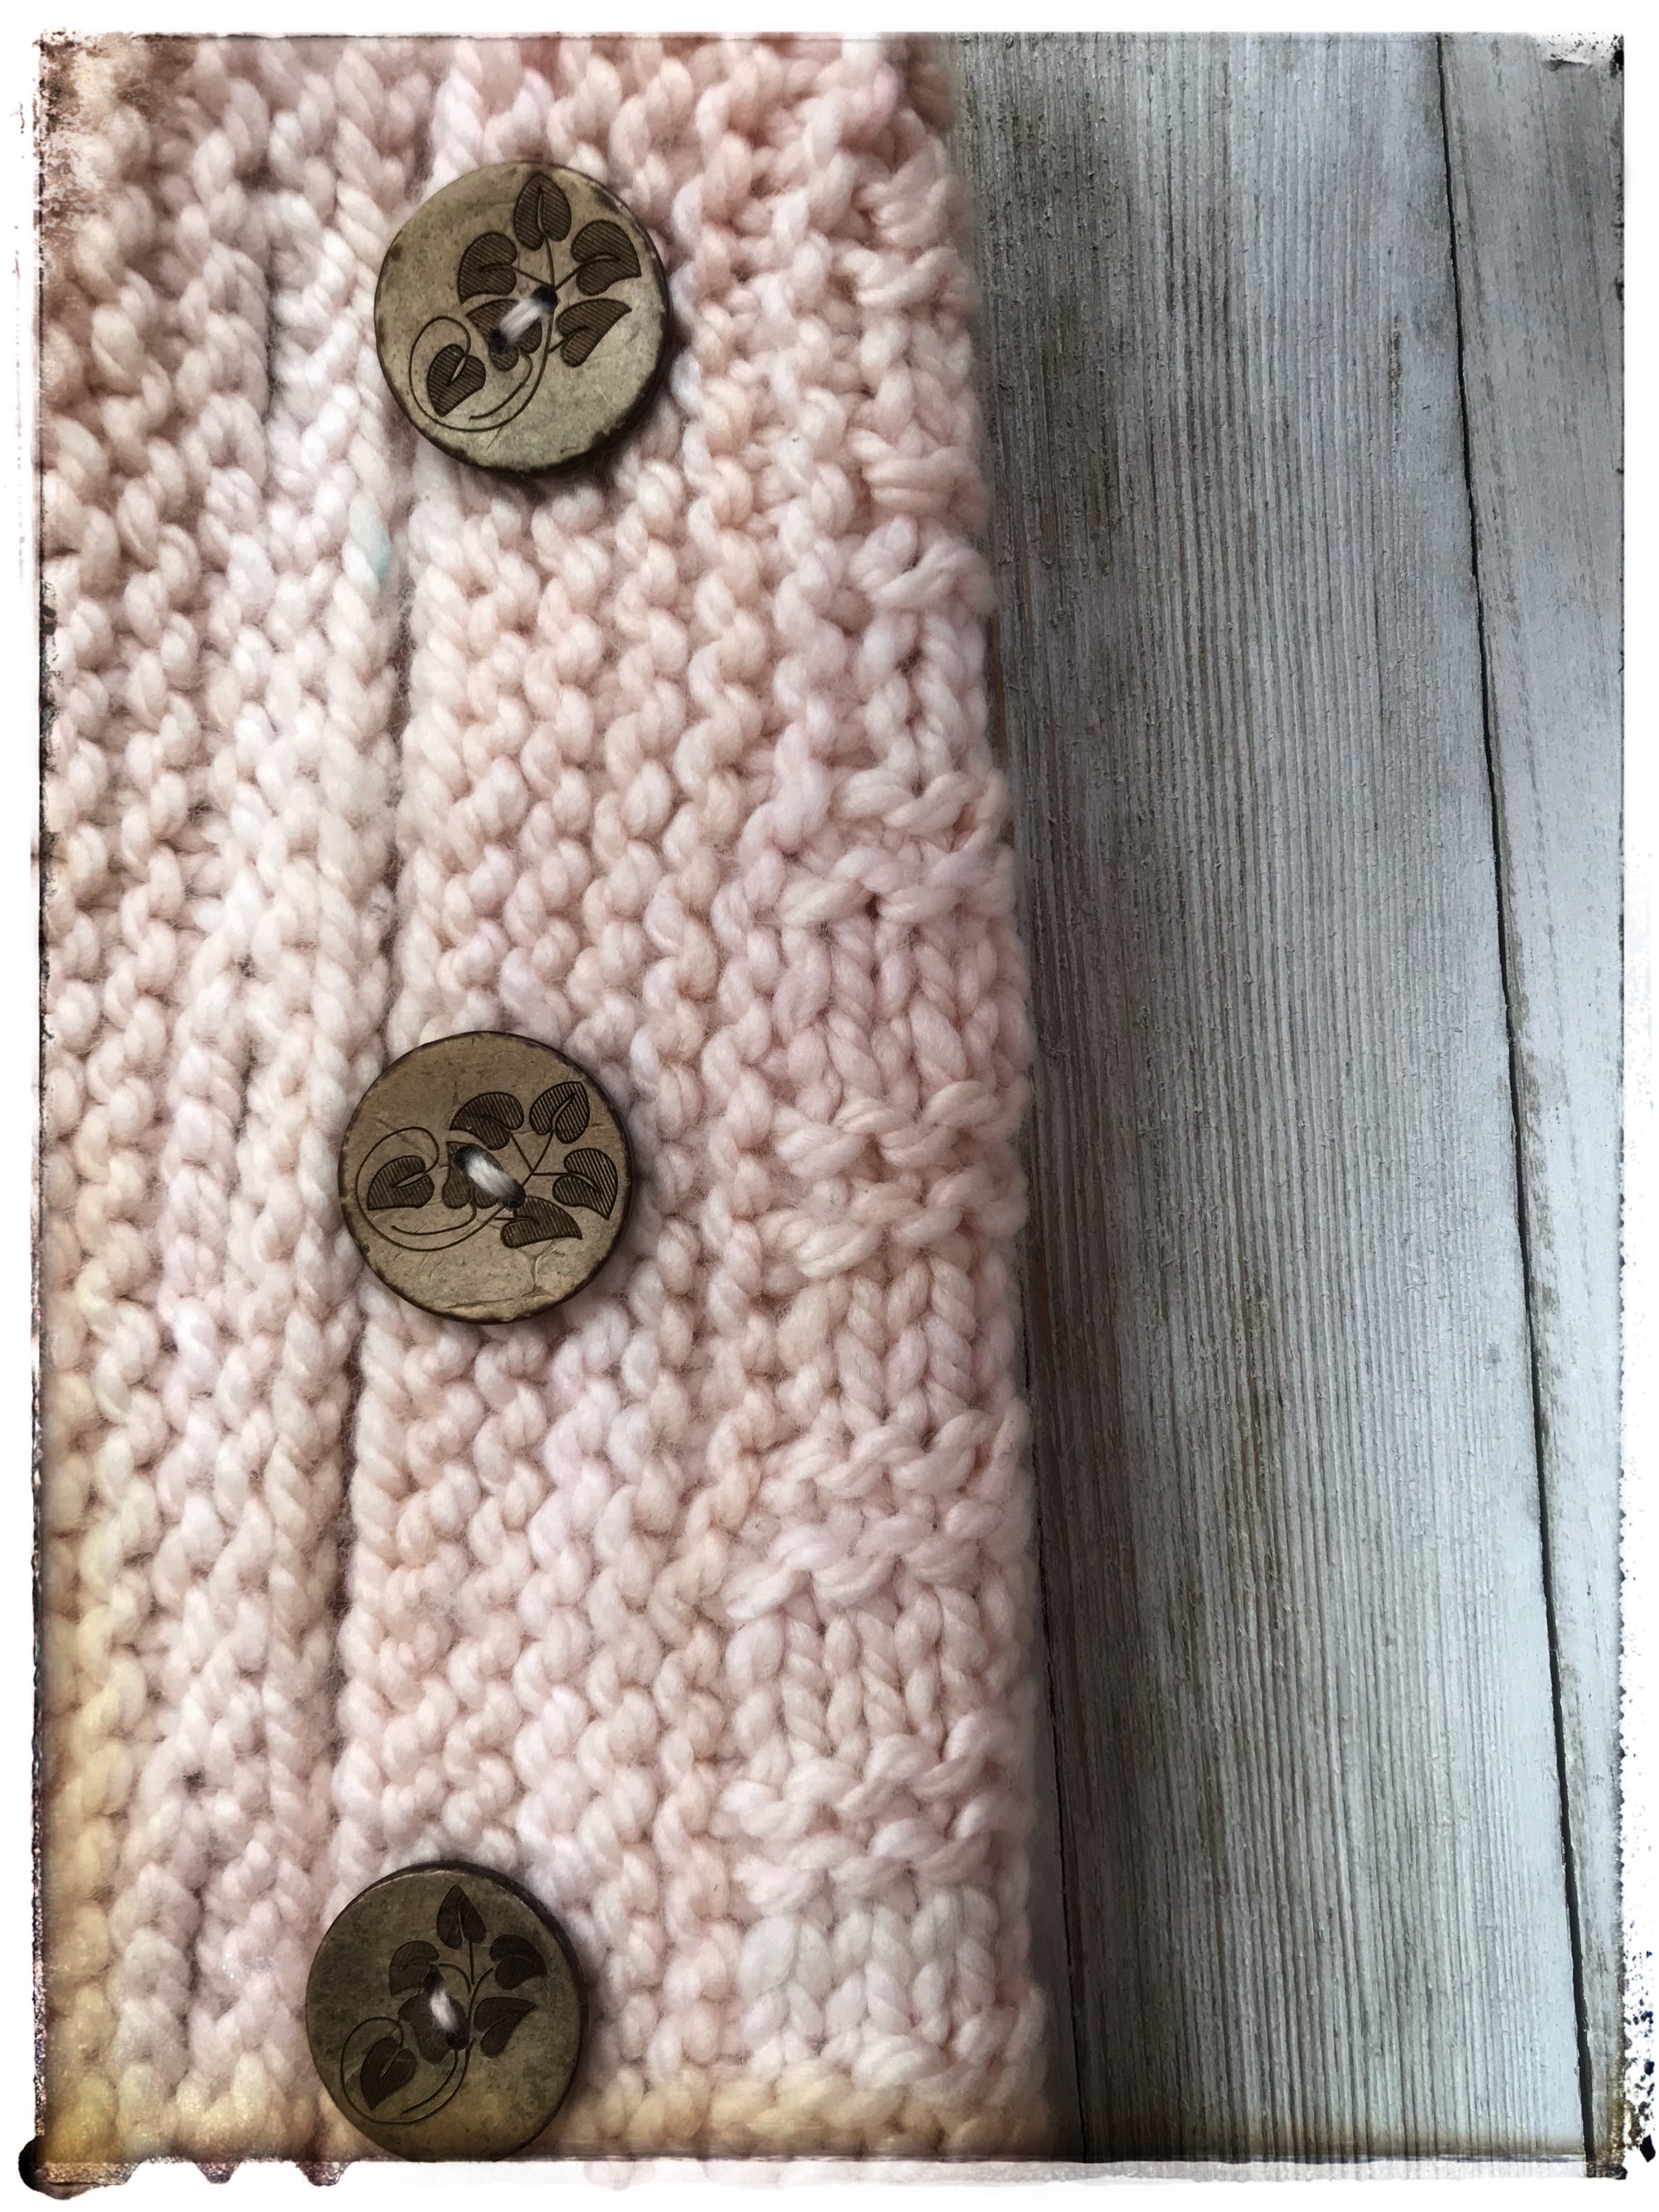
Bottom right photo: The finished buttons!

A cardigan...as beautiful on the inside as on the outside:)
So, I had one more very exciting idea AFTER completing the sewing of the buttons and their supportive little friends. What if we could have a little fun with the supportive little friends?? I purchased these ADORABLE little sheep buttons from Biscotte Yarns and the smallest tapestry needle in my John James Pebble set fits the holes in these buttons!!

I am in the process of making a couple of cardigans and these little sheep will be the support for my main buttons! Check out the selection HERE.
Have you ever tried this button support system?